前回、Raspberry Pi Pico で有機EL(OLED)ディスプレイに文字表示する開発環境にThonny (MicroPython) を使いましたが、ここではArduin IDE を使ってみます。
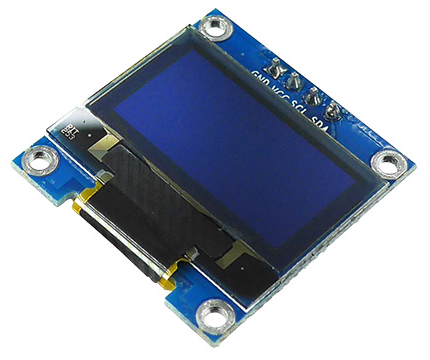
使うディスプレイ
ライブラリインストール
ラズパイにArduino IDE をセットアップしておきます。
まずはArduino IDE を起動して、以下の3つをインストールします。
Adafruit GFX Library
Adafruit SSD1306
Adafruit BusIO
メニュのツールー>ライブラリを管理…を選択。
ライブラリマネージャーが開いたら検索フィルターにAdafruitと入力。
3つを探してインストール。
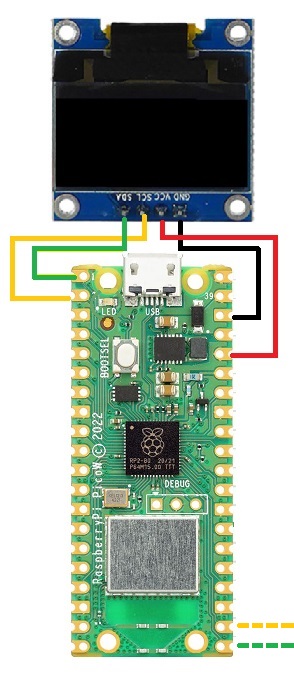
結線
緑:SDA
黄:SCL
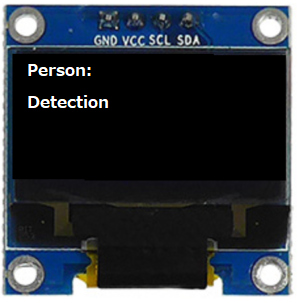
文字を表示してみます
以下はディスプレイに2行の文字を表示するサンプルです。
|
1 2 3 4 5 6 7 8 9 10 11 12 13 14 15 16 17 18 19 20 21 22 23 24 25 26 27 28 29 30 31 32 33 34 35 36 37 38 39 40 41 42 |
#include <Adafruit_GFX.h> #include <Adafruit_SSD1306.h> //設定 #define SCREEN_WIDTH 128 #define SCREEN_HEIGHT 64 #define OLED_RESET -1 Adafruit_SSD1306 display(SCREEN_WIDTH, SCREEN_HEIGHT, &Wire, OLED_RESET); void setup() { // put your setup code here, to run once: //初期化 Wire.setSDA(0); //SDA Wire.setSCL(1); // SCL Wire.begin(); //初期設定 if (!display.begin(SSD1306_SWITCHCAPVCC, 0x3C)) { Serial.println(F("SSD1306:0 allocation failed")); for (;;); } display.setTextColor(SSD1306_WHITE); } void loop() { // put your main code here, to run repeatedly: display.clearDisplay(); // タイトル表示 display.setTextSize(1); display.setCursor(4, 0); display.println("Person:"); display.setCursor(4, 10); display.println("Detection"); display.display(); } |
Appendix
日本語環境
美咲フォントに関してはこの方のブログ参照


Leave a Reply