
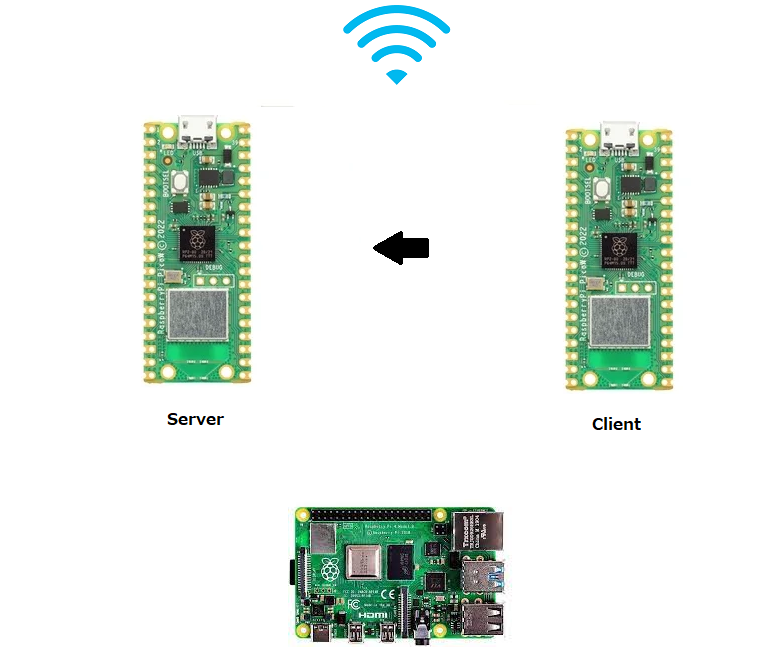
前回はMicroPython版でしたが、今回はArduino IDE でやってみます。
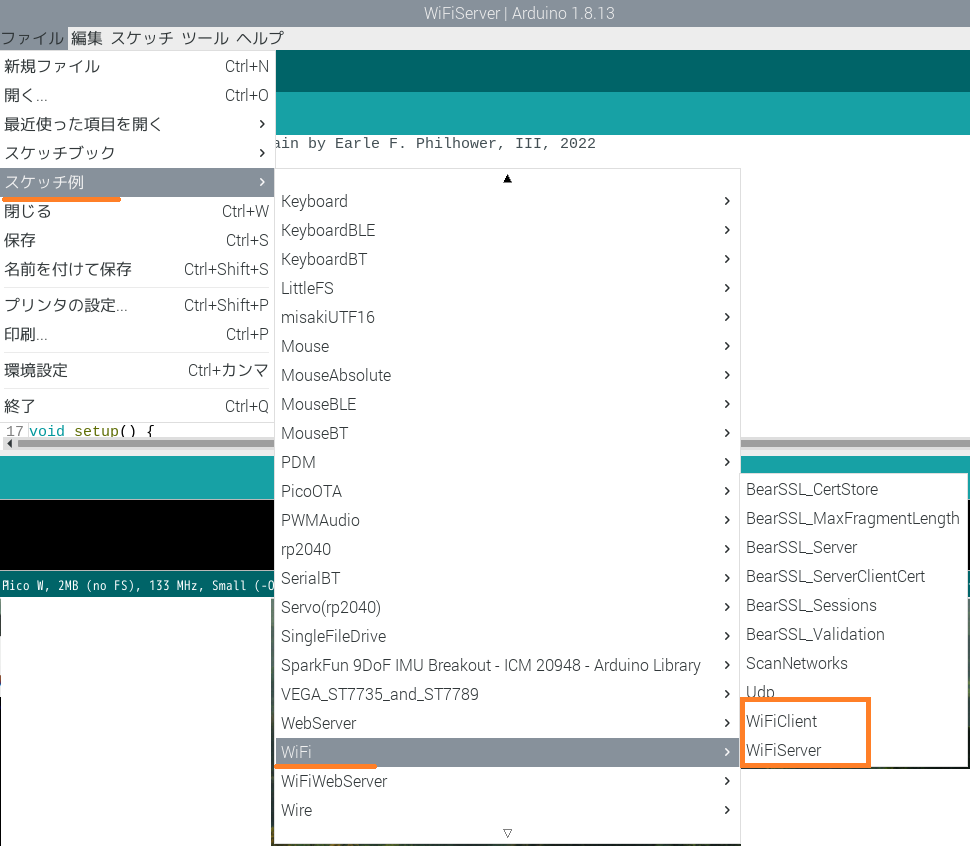
参照するのはEarle Philhower版のボードマネージャーにスケッチ例としてあった、WiFiServer とWiFiClient です。
Pico W 用に書かれたものではないですが、実行可能です。
開発用に母艦としてラズパイ4 Model B を使います。
メッセージや動作確認用にシリアルモニターを使いますが、Arduino IDE は複数起動できるので、それぞれのモニターでServer Client を区別できます。
ポートはそれぞれで/dev/ttyACM0 , /dev/ttyACM1 という風になります。
WiFiServer
Wi-Fi のSSID とパスワードはご自分の環境のを入力。
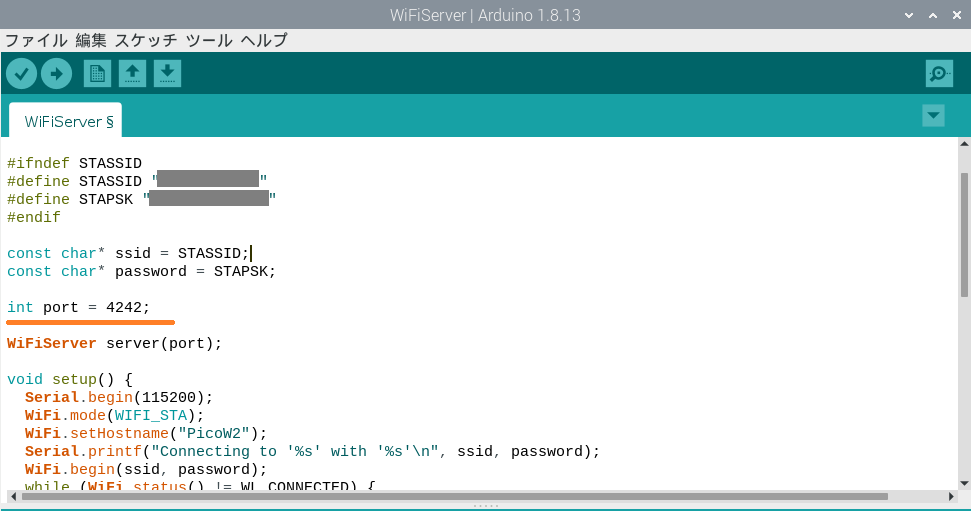
ポート番号は4242が使われています。
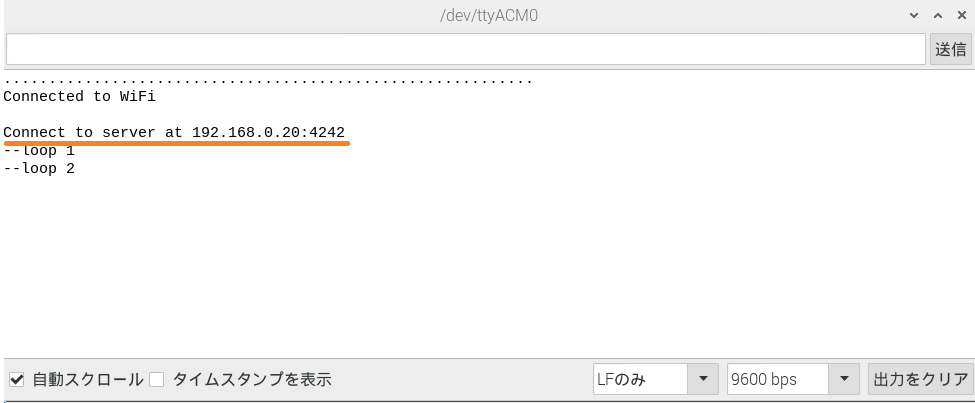
コンパイル後起動。パラメータをシリアルモニターで確認。
ここでは、IPアドレスとして、192.168.0.20が割り当てられています。このアドレスとポート番号はClient で使うので控えておきます。
コード
SSID とPASSWORDは適当に書き換え。
|
1 2 3 4 5 6 7 8 9 10 11 12 13 14 15 16 17 18 19 20 21 22 23 24 25 26 27 28 29 30 31 32 33 34 35 36 37 38 39 40 41 42 43 44 45 46 47 48 49 |
// Placed in the public domain by Earle F. Philhower, III, 2022 #include <WiFi.h> #ifndef STASSID #define STASSID "SSID" #define STAPSK "PASSWORD" #endif const char* ssid = STASSID; const char* password = STAPSK; int port = 4242; WiFiServer server(port); void setup() { Serial.begin(115200); WiFi.mode(WIFI_STA); WiFi.setHostname("PicoW2"); Serial.printf("Connecting to '%s' with '%s'\n", ssid, password); WiFi.begin(ssid, password); while (WiFi.status() != WL_CONNECTED) { Serial.print("."); delay(100); } Serial.printf("\nConnected to WiFi\n\nConnect to server at %s:%d\n", WiFi.localIP().toString().c_str(), port); server.begin(); } void loop() { static int i; delay(1000); Serial.printf("--loop %d\n", ++i); delay(10); WiFiClient client = server.available(); if (!client) { return; } client.println("Type anything and hit return"); while (!client.available()) { delay(10); } String req = client.readStringUntil('\n'); Serial.println(req); client.printf("Hello from Pico-W\r\n"); client.flush(); } |
WiFiClient
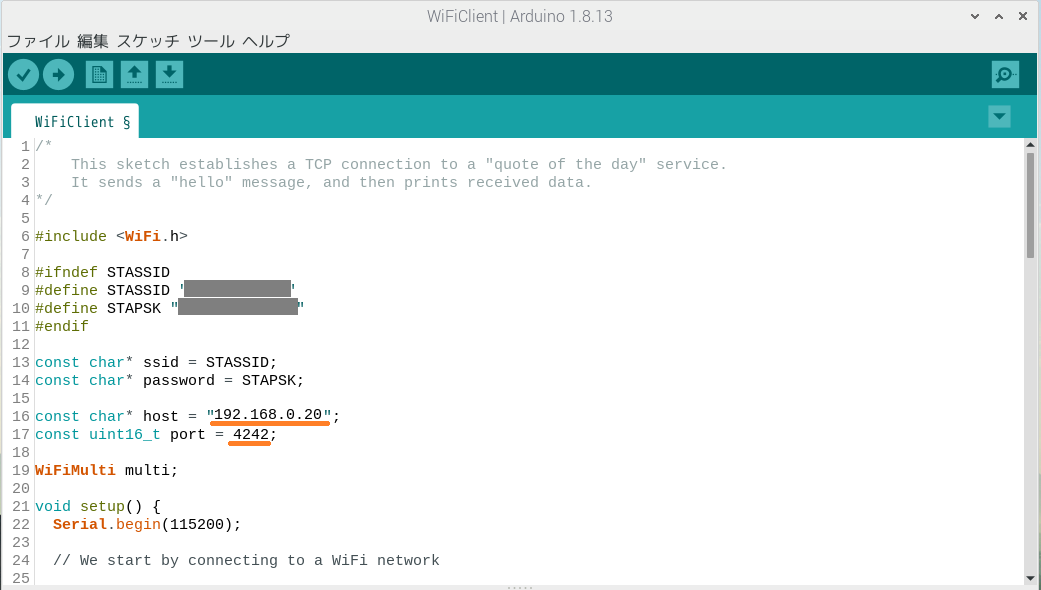
HOST 情報は上記に準じて書き換えます。
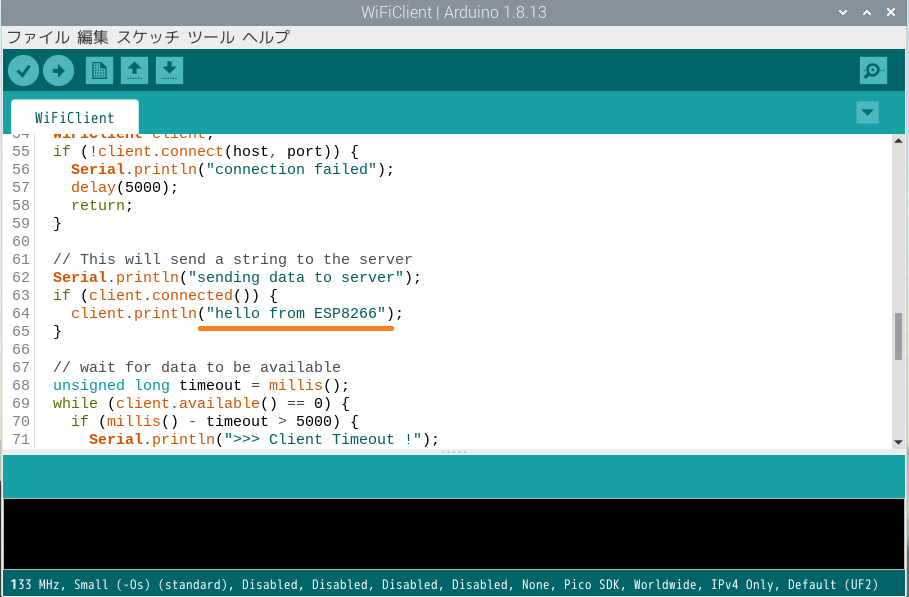
元コードはESP8266モジュール用に書かれていたものなので、書き換えましょう(何でもいいです)。
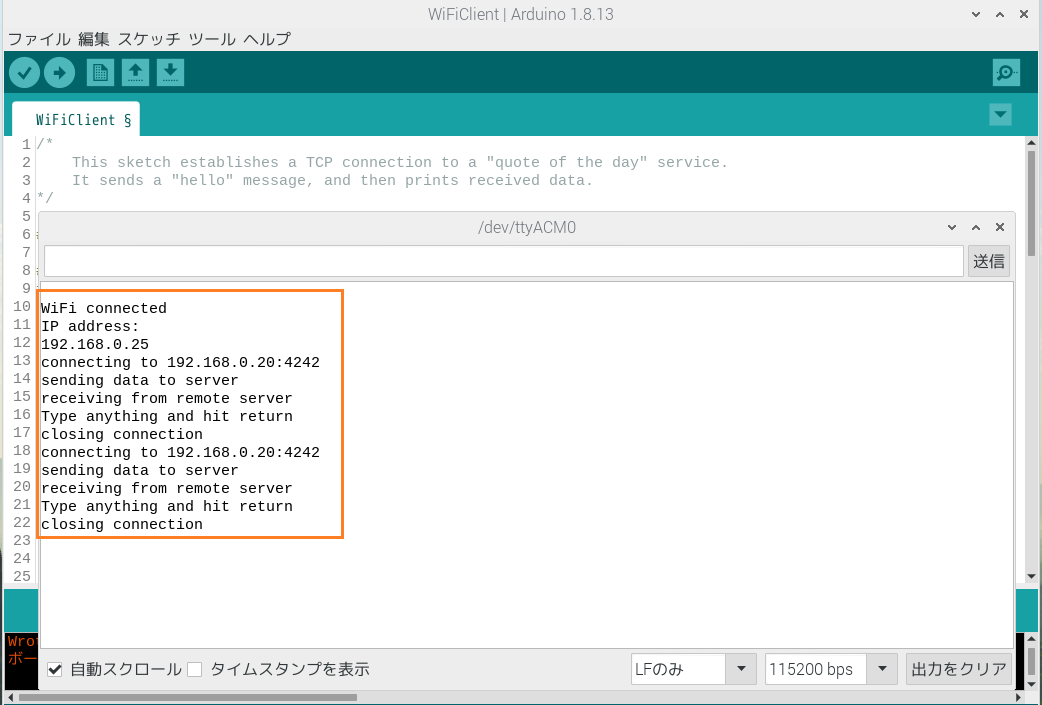
コンパイル後起動。
コード
SSID とPASSWORDは適当に書き換え。メッセージは書き換えています。
|
1 2 3 4 5 6 7 8 9 10 11 12 13 14 15 16 17 18 19 20 21 22 23 24 25 26 27 28 29 30 31 32 33 34 35 36 37 38 39 40 41 42 43 44 45 46 47 48 49 50 51 52 53 54 55 56 57 58 59 60 61 62 63 64 65 66 67 68 69 70 71 72 73 74 75 76 77 78 79 80 81 82 83 84 85 86 87 88 89 90 |
#include <WiFi.h> #ifndef STASSID #define STASSID "SSID" #define STAPSK "PASSWORD" #endif const char* ssid = STASSID; const char* password = STAPSK; const char* host = "SERVER-IP"; const uint16_t port = PORT; WiFiMulti multi; void setup() { Serial.begin(115200); // We start by connecting to a WiFi network Serial.println(); Serial.println(); Serial.print("Connecting to "); Serial.println(ssid); multi.addAP(ssid, password); if (multi.run() != WL_CONNECTED) { Serial.println("Unable to connect to network, rebooting in 10 seconds..."); delay(10000); rp2040.reboot(); } Serial.println(""); Serial.println("WiFi connected"); Serial.println("IP address: "); Serial.println(WiFi.localIP()); } void loop() { static bool wait = false; Serial.print("connecting to "); Serial.print(host); Serial.print(':'); Serial.println(port); // Use WiFiClient class to create TCP connections WiFiClient client; if (!client.connect(host, port)) { Serial.println("connection failed"); delay(5000); return; } // This will send a string to the server Serial.println("sending data to server"); if (client.connected()) { client.println("hello from Pico W"); } // wait for data to be available unsigned long timeout = millis(); while (client.available() == 0) { if (millis() - timeout > 5000) { Serial.println(">>> Client Timeout !"); client.stop(); delay(60000); return; } } // Read all the lines of the reply from server and print them to Serial Serial.println("receiving from remote server"); // not testing 'client.connected()' since we do not need to send data here while (client.available()) { char ch = static_cast<char>(client.read()); Serial.print(ch); } // Close the connection Serial.println(); Serial.println("closing connection"); client.stop(); if (wait) { delay(300000); // execute once every 5 minutes, don't flood remote service } wait = true; } |
こんな感じ。
Client側
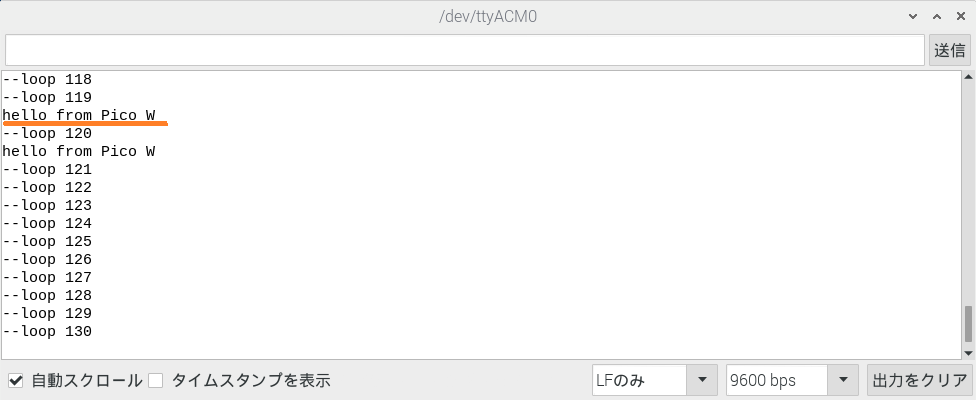
Server側
メッセージが受信されています。
Leave a Reply