Jetson の Jetpack(ver 4.4) でサポートされているDocker Container を使ってみます。
Jetpack のセットアップはこのページをご参照ください。4.2.1でやってますが手順は同じです。
で、Docker環境で何をためすかというと、NVIDIAが提供してくれているGPUベンチマーク用のN-body Simulation(N体シミュレーション)です。CUDAのサンプルフォルダーに入ってます。
Jetson NanoにVNCリモートデスクトップ環境で接続してDocker Containerを使ってみます。
ちなみに、Windowsのリモートデスクトップ環境では動作しませんでした。
以下はNVIDIA Container Runtime on Jetsonの抄訳です。
が、そのままでは実行できませんでしたので若干アレンジしています(多分Jetson固有のファイル構造の問題)。
NVIDIA Container Runtime with Docker integration (via the nvidia-docker2 packages) is included as part of NVIDIA JetPack.
(nvidia-docker2パッケージを介して)Docker統合を備えたNVIDIA Container Runtimeは、NVIDIAJetPackの一部として含まれています。
You can check that the NVIDIA Container Runtime is installed by running the following commands:
次のコマンドを実行して、NVIDIA ContainerRuntimeがインストールされていることを確認できます。
|
1 2 3 4 5 6 7 8 9 |
$ sudo dpkg --get-selections | grep nvidia libnvidia-container-tools install libnvidia-container0:arm64 install nvidia-container-runtime install nvidia-container-runtime-hook install nvidia-docker2 install $ sudo docker info | grep nvidia + Runtimes: nvidia runc |
Users have access to an L4T base container image from NGC for Jetson available here.
ユーザーは、NGC forJetsonのL4T(Linux 4 Tegra)ベースコンテナイメージにアクセスできます。
Users can extend this base image to build their own containers for use on Jetson devices. In this example, we will run a simple N-body simulation using the CUDA nbody sample. Since this sample requires access to the X server, an additional step is required as shown below before running the container.
ユーザーは、このベースイメージを拡張して、Jetsonデバイスで使用するための独自のコンテナーを構築できます。 この例では、CUDAnbodyサンプルを使用して簡単なN体シミュレーションを実行します。 このサンプルではXサーバーにアクセスする必要があるため、コンテナーを実行する前に、以下に示す追加の手順が必要です。
Allow containers to communicate with Xorg
コンテナがXorg(X Window Server)と通信できるようにします
|
1 |
sudo xhost +si:localuser:root |
Containerを起動。
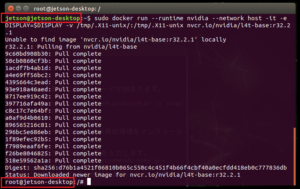
sudo docker run --runtime nvidia --network host -it -e DISPLAY=$DISPLAY -v /tmp/.X11-unix/:/tmp/.X11-unix nvcr.io/nvidia/l4t-base:r32.2.1
コンパイラをインストールします。Container内で次のコマンドを実行。
|
1 |
apt-get update && apt-get install -y --no-install-recommends make g++ |
hostにあるサンプルソースをContainerの/tmpにコピーします。
別のターミナルを開いて、ContainerのIDを調べておきます。
|
1 |
sudo docker container ls |
ContainerIDは大事なので、できれば控えておいたほうがいいです。
コピーします(CONTAINER_IDは実際のIDに置き換え)。
|
1 |
sudo docker cp /usr/local/cuda/samples CONTAINER_ID:/tmp |
Containerのターミナルに戻ってコピー先のフォルダに移動します。
|
1 |
cd /tmp/samples/5_Simulations/nbody |
コンパイルして、
make
起動します。
./nbody
|
1 2 3 4 5 6 7 8 9 10 11 12 13 14 15 16 17 18 19 20 21 22 |
root@jetson-desktop:/tmp/samples/5_Simulations/nbody# ./nbody Run "nbody -benchmark [-numbodies=<numBodies>]" to measure performance. -fullscreen (run n-body simulation in fullscreen mode) -fp64 (use double precision floating point values for simulation) -hostmem (stores simulation data in host memory) -benchmark (run benchmark to measure performance) -numbodies=<N> (number of bodies (>= 1) to run in simulation) -device=<d> (where d=0,1,2.... for the CUDA device to use) -numdevices=<i> (where i=(number of CUDA devices > 0) to use for simulation) -compare (compares simulation results running once on the default GPU and once on the CPU) -cpu (run n-body simulation on the CPU) -tipsy=<file.bin> (load a tipsy model file for simulation) NOTE: The CUDA Samples are not meant for performance measurements. Results may vary when GPU Boost is enabled. > Windowed mode > Simulation data stored in video memory > Single precision floating point simulation > 1 Devices used for simulation GPU Device 0: "Maxwell" with compute capability 5.3 > Compute 5.3 CUDA device: [NVIDIA Tegra X1] |
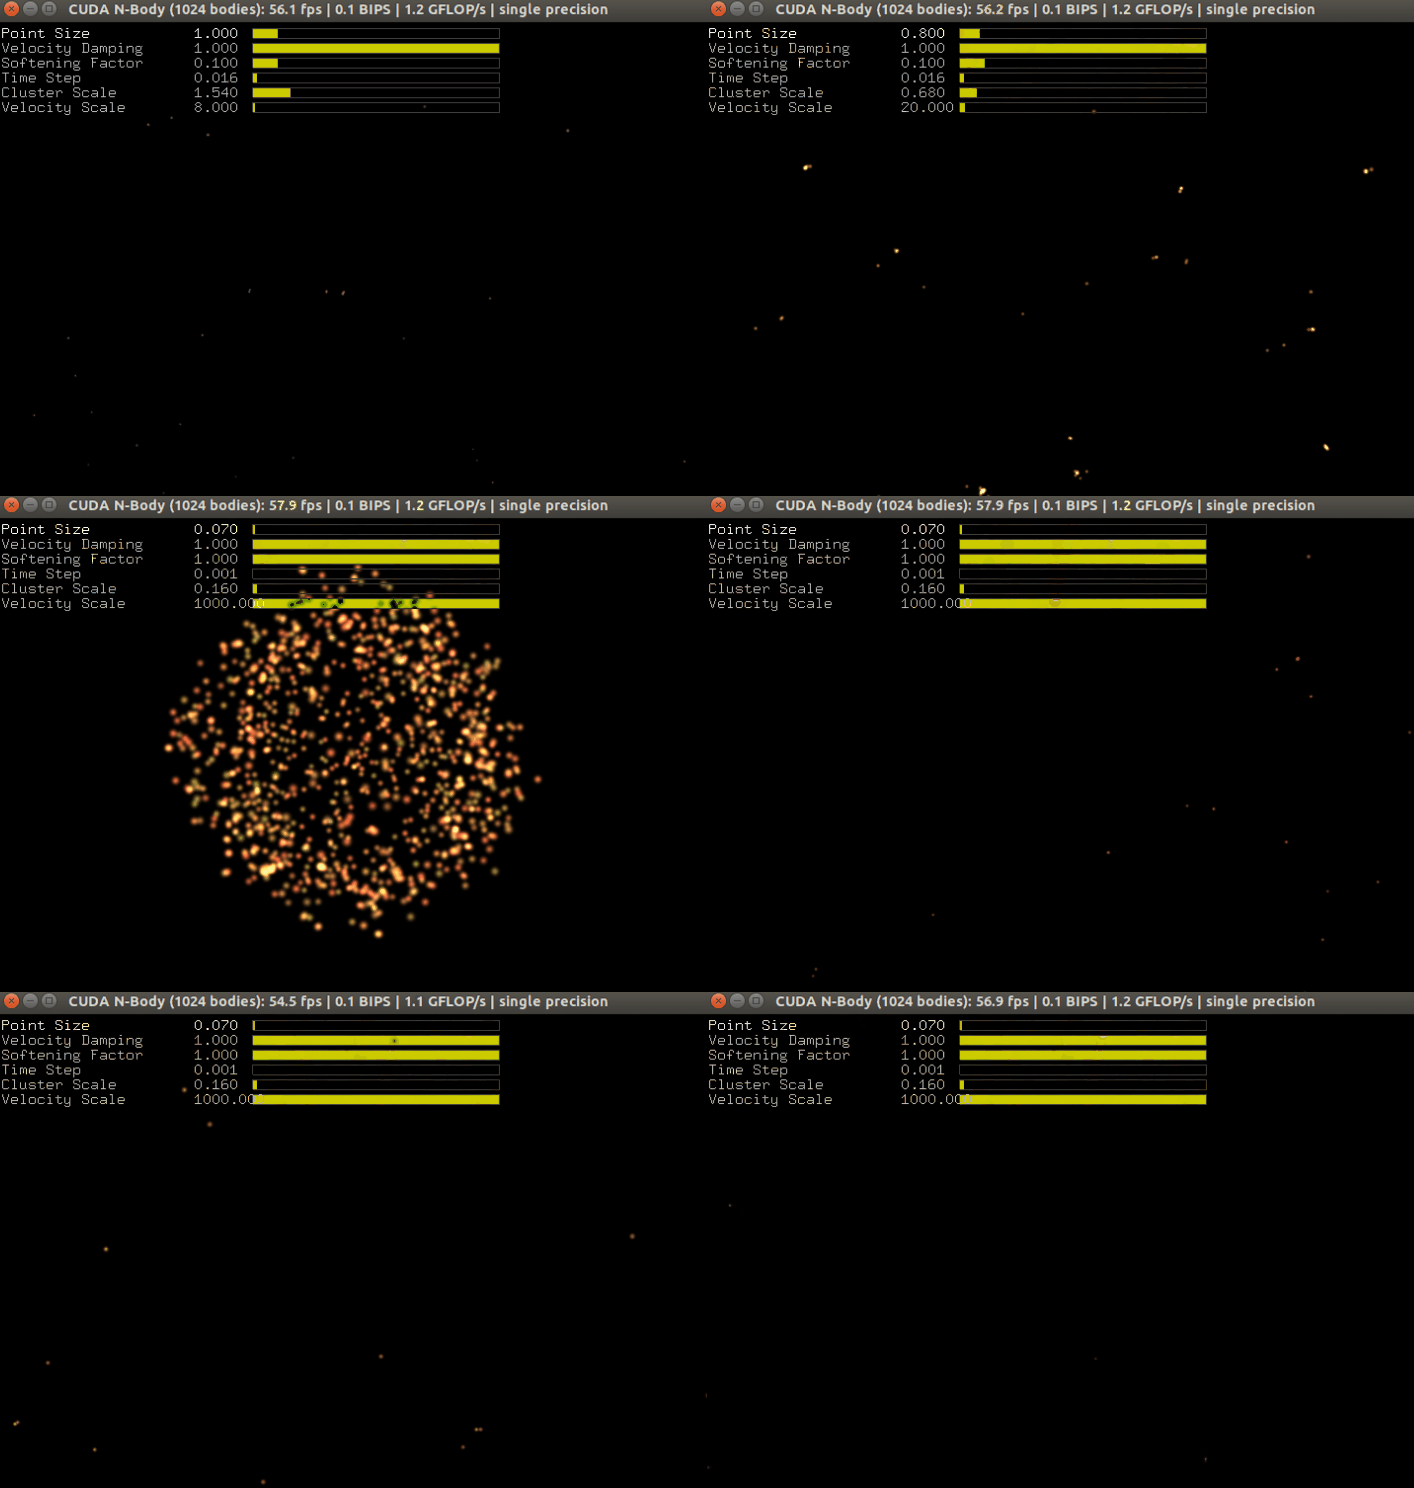
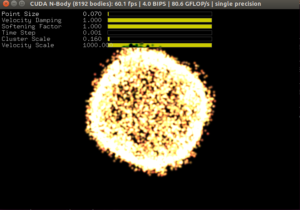
ちなみに、bodiesのデフォルトは1024、設定する場合はnbody -numbodies=N、Nは256の倍数、例えばnbody -numbodies=8192
シミュレーションの画像はよりにぎやかになります(目的はソコじゃないですが….)。

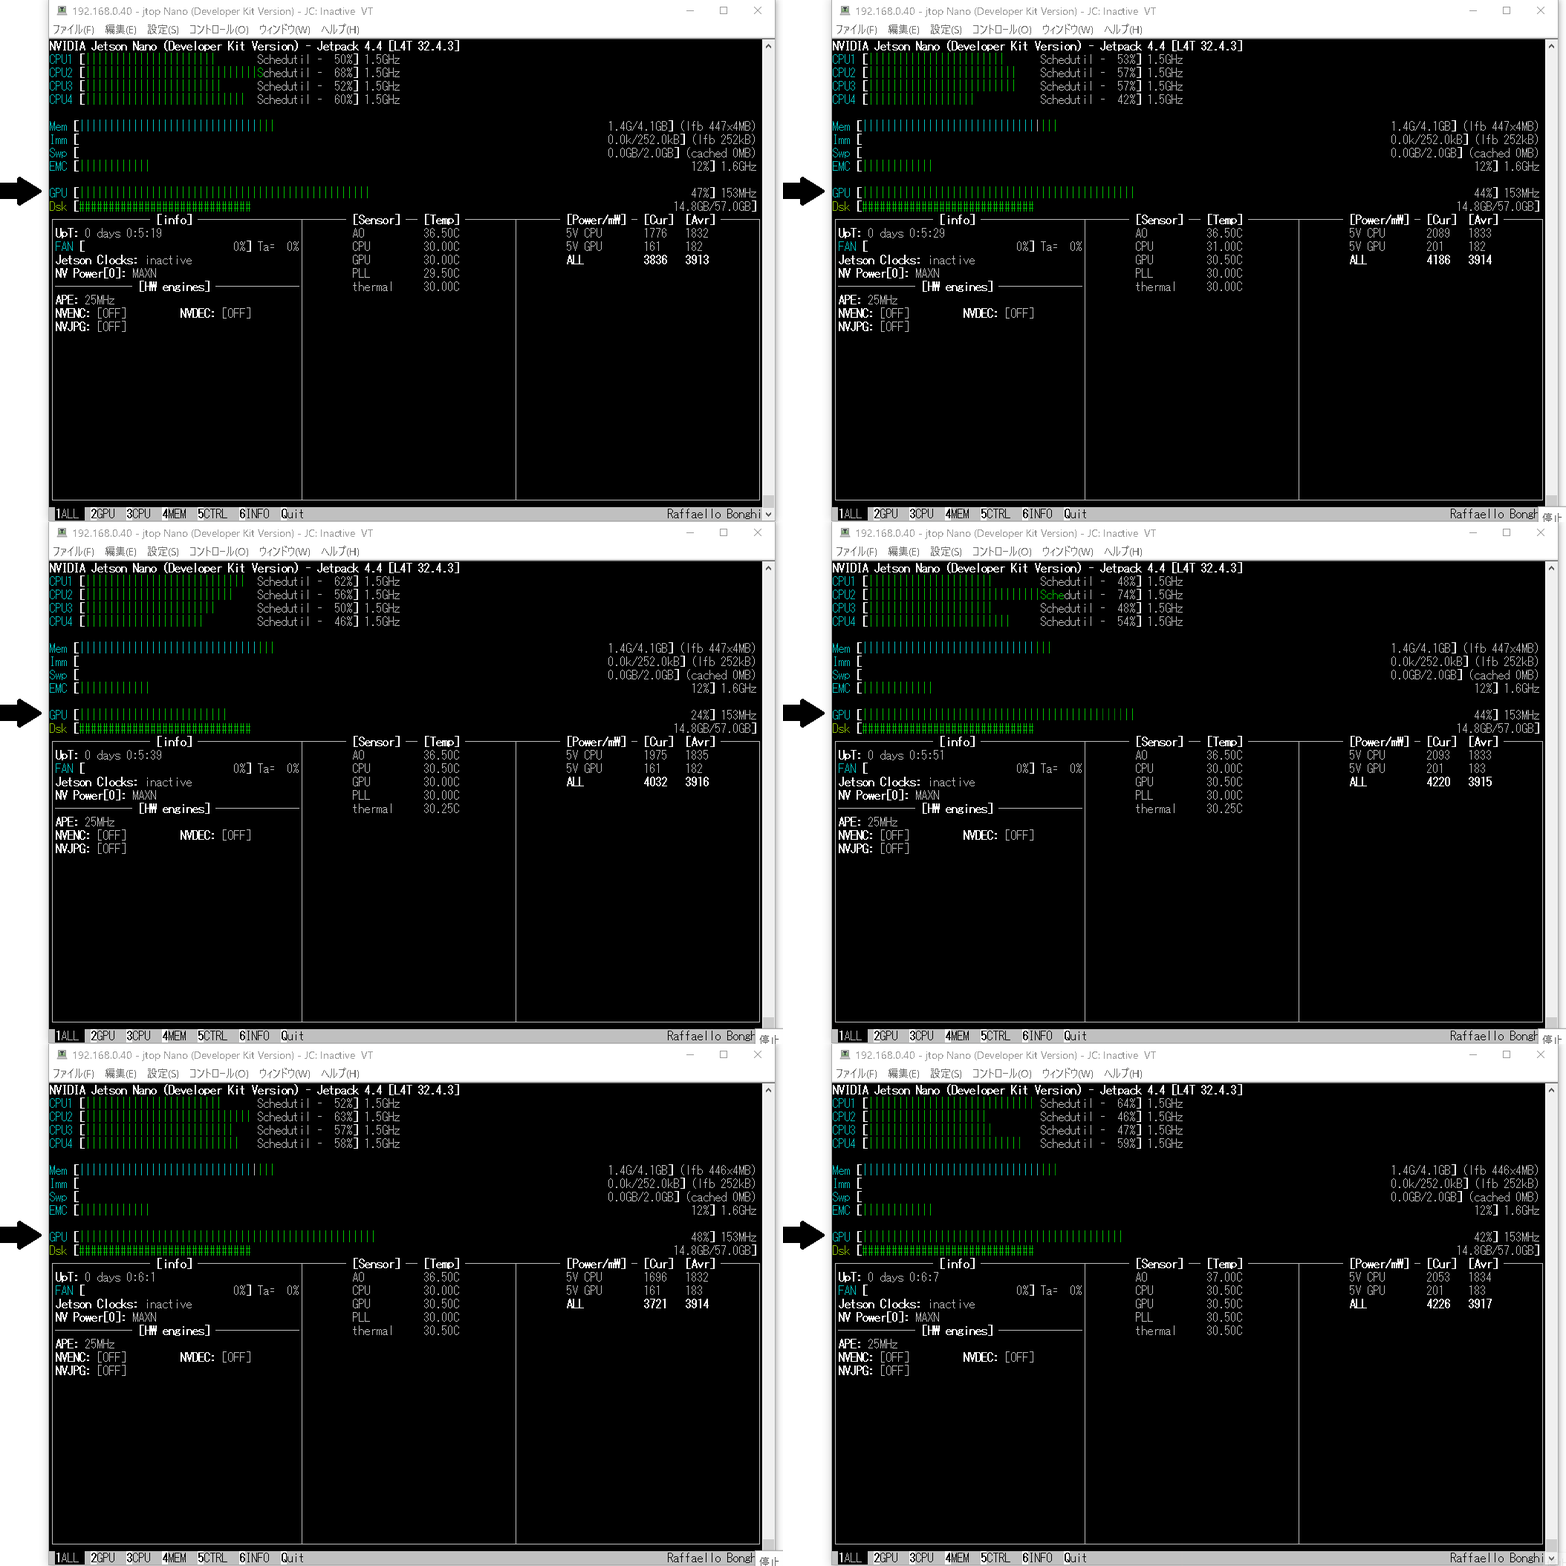
jtop(jetson-stats)でGPUの稼働をモニターしてみます(黒矢印のところ)。
Building CUDA in Containers on Jetson(JetsonのコンテナでCUDAを構築する)
Docker gives you the ability to build containers using the “docker build” command. Let’s start with an example of how to do that on your Jetson device:
Dockerを使用すると、「dockerbuild」コマンドを使用してコンテナーをビルドできます。 Jetsonデバイスでそれを行う方法の例から始めましょう:
以下略
Container終了
(Ctrl + C)
exit
再起動
Containerは削除しなければ再起動できます。
|
1 |
sudo xhost +si:localuser:root |
控えておいたContainerIDを使います。
|
1 |
sudo docker start -i CONTAINER_ID |
上記の例にならえば、
cd /tmp/samples/5_Simulations/nbody
./nbody
でN-Body Simulation を再実行できます。
Docker イメージの作成
イメージ名は適当につけます。
|
1 |
sudo docker commit CONTAINER_ID <イメージ名>:TAG |
保存場所は以下で確認
|
1 |
sudo docker info |
Ubuntuの場合は、たいがい/var/lib/docker
イメージ確認
|
1 |
sudo docker images |
イメージからDockerを起動
|
1 |
sudo xhost +si:localuser:root |
sudo docker run --runtime nvidia --network host -it -e DISPLAY=$DISPLAY -v /tmp/.X11-unix/:/tmp/.X11-unix <イメージ名>:TAG
Containerの削除
|
1 |
sudo docker rm CONTAINER_ID |
イメージの削除
IMAGE_IDの確認
|
1 |
sudo docker images |
削除
|
1 |
sudo docker rmi -f IAMGE_ID |
Appendix
NVIDIA Docker って今どうなってるの? (19.11版)
NVIDIA Docker って今どうなってるの? (20.09 版)
Appendix2
Jetson NanoにDocker Compose をインストール
Next
せっかくのJetsonなので、NGC(NVIDIA GPU CLOUD)のDocker Image をあれこれ試してみます(NanoのGPUはMaxwellアーキテクチャなので試せる範囲は限られる?)。

Leave a Reply