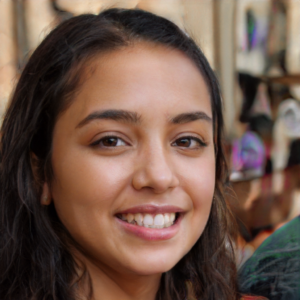
StyleGAN を使ってこういう画像を生成してみます。この顔の人物は現実には存在しません。
Jetson で稼働確認済み。
Jetson Nano or Jetson Xavier NX + コンテナ

Xavier NX では問題なく実行できましたが、Nano(A02)ではOOMエラーが出ました、解消の仕方はここを参照。
また、メモリは6GBくらい使うので、8GB持っているXavier NX を使ったほうが快適です。
Nano の場合は3GB ほどSWAP 領域を確保しておきます。
Jetpackは以下を使って環境を構築しておきます。
必要なファイル群をダウンロードしておきます。方法は2つ。
以下、/home/jetson はご自分の環境に適宜、ご変更ください。
●GITでダウンロード
|
1 2 3 |
cd /home/jetson git clone https://github.com/NVlabs/stylegan.git |
●手動でダウンロード
ホスト側で作業用ディレクトリを作っておきます。
|
1 |
mkdir /home/jetson/stylegan |
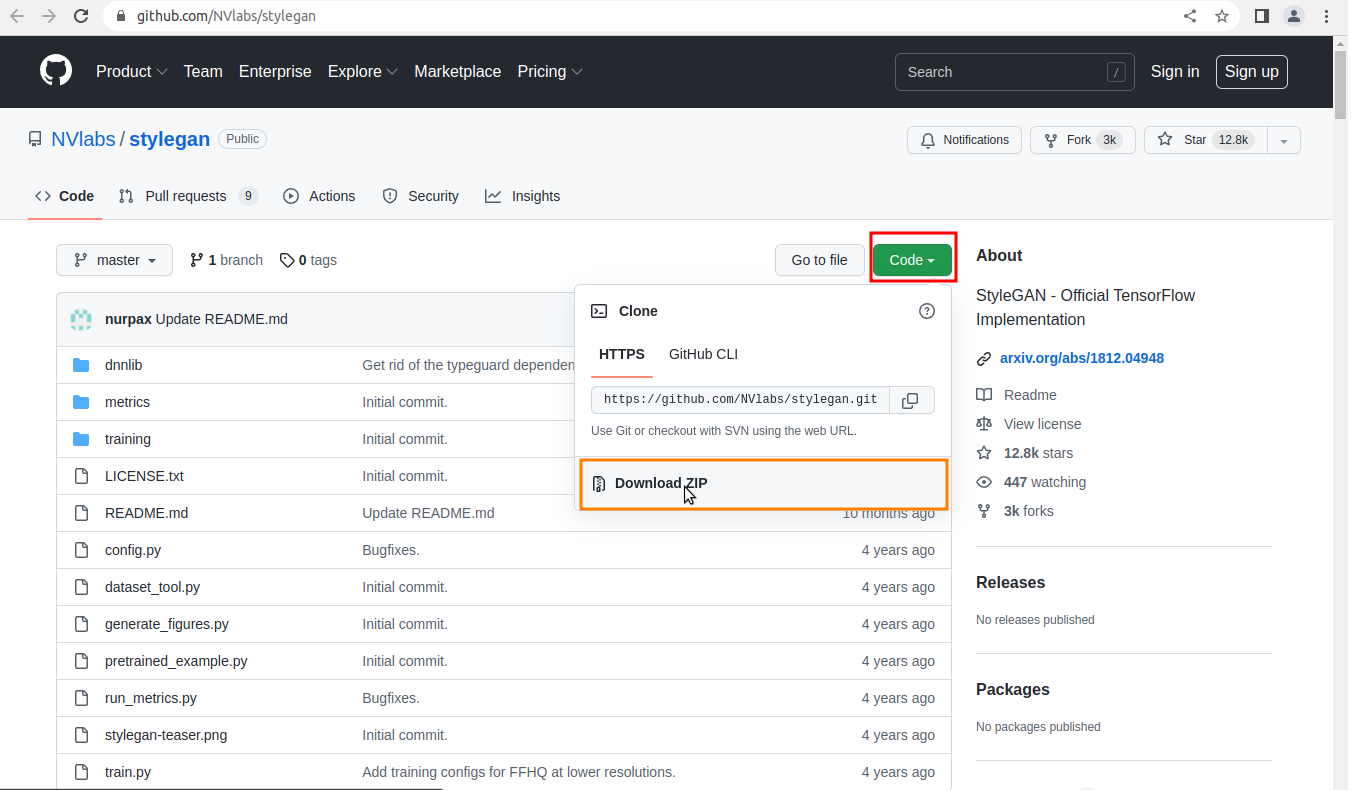
StyleGAN に移動してZIPをダウンロード
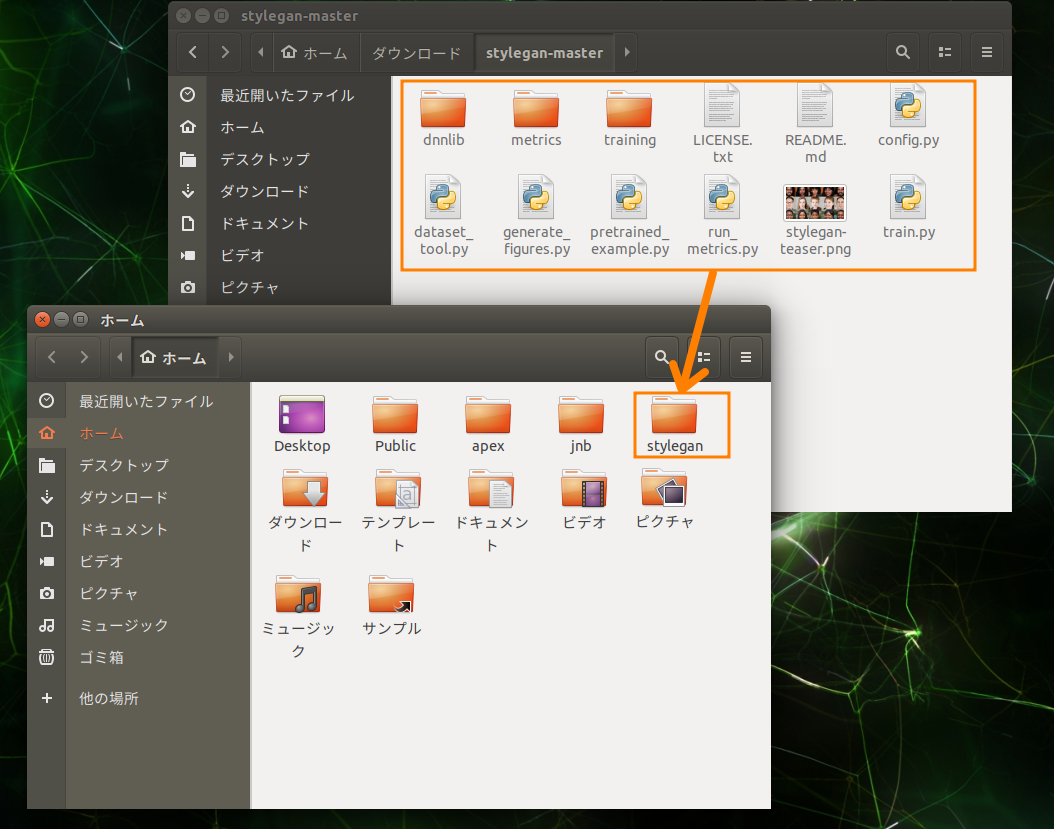
ZIPを解凍して、中身をすべてstyleganフォルダーに移す
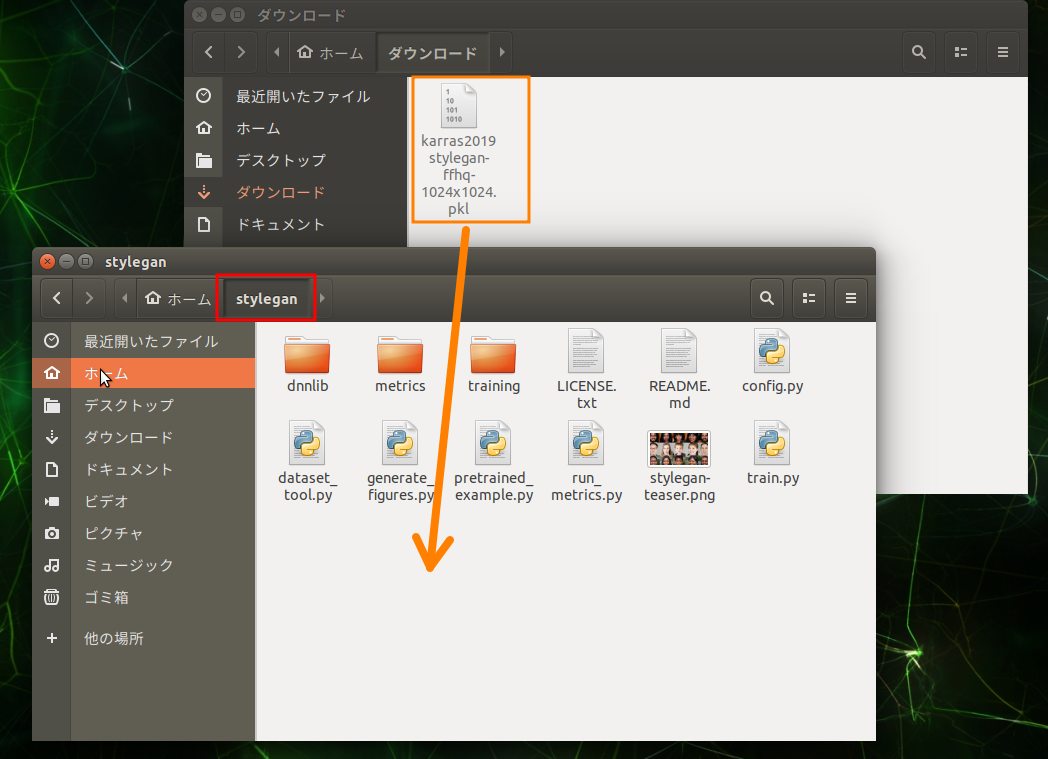
学習済みモデルのダウンロード
ダウンロードでデフォルトのコードを使うと以下のようなエラーになることがあります。事前にマニュアルでファイルをダウンロードしておきます。
OSError: Google Drive quota exceeded
現在、このファイルを閲覧、ダウンロードできません。
最近このファイルを閲覧、ダウンロードしたユーザーの数が多すぎます。しばらくしてからファイルにアクセスしてください。アクセスしようとしているファイルのサイズが非常に大きい場合や、ファイルが多くのユーザーと共有されている場合は、ファイルを閲覧、ダウンロードできるようになるまで最大 24 時間かかることがあります。24 時間が経過してもファイルにアクセスできない場合は、ドメイン管理者にお問い合わせください。
以下をクリックして直接ダウンロードしましょう
ダウンロードしたファイルは、/home/jetson/styleganにコピーしておきます。
コンテナ用にNVIDIAのDockerイメージをダウンロードしておきます。
|
1 |
sudo docker pull nvcr.io/nvidia/l4t-ml:r32.6.1-py3 |
コンテナ作成
ホスト側のstyleganフォルダーをコンテナ側のworkフォルダーにマウントしておきます。
sudo docker create -it --name my_stylegan --gpus all --network host -v /home/jetson/stylegan:/work nvcr.io/nvidia/l4t-ml:r32.6.1-py3
コンテナを起動
|
1 |
sudo docker start -i my_stylegan |
アップデート&アップグレードとライブラリやパッケージのインストール
|
1 2 3 4 5 6 |
apt update apt upgrade -y apt install python-pip python3-pip -y python3 -m pip install --upgrade pip apt install nano |
作業用フォルダーへ移動
|
1 |
cd /work |
画像生成
以下のようなpythonファイルを作成。枚数を指定して画像を生成してみます。
|
1 |
nano img_generate.py |
【img_generate.py】
|
1 2 3 4 5 6 7 8 9 10 11 12 13 14 15 16 17 18 19 20 21 22 23 24 25 26 27 28 29 30 31 32 33 34 35 36 37 38 39 40 41 42 43 44 45 46 47 48 49 50 51 52 53 54 55 56 57 |
# Copyright (c) 2019, NVIDIA CORPORATION. All rights reserved. # # This work is licensed under the Creative Commons Attribution-NonCommercial # 4.0 International License. To view a copy of this license, visit # http://creativecommons.org/licenses/by-nc/4.0/ or send a letter to # Creative Commons, PO Box 1866, Mountain View, CA 94042, USA. """Minimal script for generating an image using pre-trained StyleGAN generator.""" import os import pickle import numpy as np import PIL.Image import dnnlib import dnnlib.tflib as tflib import config import sys def main(): # Initialize TensorFlow. tflib.init_tf() # Load pre-trained network. #url = 'https://drive.google.com/uc?id=1MEGjdvVpUsu1jB4zrXZN7Y4kBBOzizDQ' # karras2019stylegan-ffhq-1024x1024.pkl #with dnnlib.util.open_url(url, cache_dir=config.cache_dir) as f: with open("./karras2019stylegan-ffhq-1024x1024.pkl", "rb") as f: _G, _D, Gs = pickle.load(f) # _G = Instantaneous snapshot of the generator. Mainly useful for resuming a previous training run. # _D = Instantaneous snapshot of the discriminator. Mainly useful for resuming a previous training run. # Gs = Long-term average of the generator. Yields higher-quality results than the instantaneous snapshot. # Print network details. Gs.print_layers() #---------------------------------------------------------------------------------------------- for i in range(int(e_num)): # Pick latent vector. rnd = np.random.RandomState() latents = rnd.randn(1, Gs.input_shape[1]) # Generate image. fmt = dict(func=tflib.convert_images_to_uint8, nchw_to_nhwc=True) images = Gs.run(latents, None, truncation_psi=0.7, randomize_noise=True, output_transform=fmt) # Save image. os.makedirs(config.result_dir, exist_ok=True) png_filename = os.path.join(config.result_dir, str(i) + '_example.png') PIL.Image.fromarray(images[0], 'RGB').save(png_filename) if __name__ == "__main__": args = sys.argv e_num = int(args[1]) main() |
9枚の顔画像を生成してみます。
|
1 |
python3 img_generate.py 9 |
エラーになったらここ参照
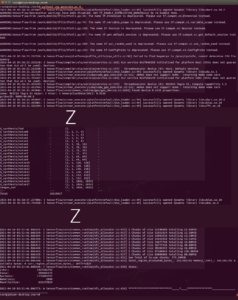
実行画面はこんな具合。
resultsフォルダーに画像が生成されます。
img_generate.pyは再度実行すれば、ノイズはシャッフルされるので、新しい顔が生成されます。
実行時間はXavier NX で2〜3分くらいです。
エラーが出る場合
Jetson Nanoでは以下のようなエラーになることがあります。
….OP_REQUIRES failed at random_op.cc:76 : Resource exhausted: OOM when allocating tensor with shape….
とか、
tensorflow.python.framework.errors_impl.InternalError: 2 root error(s) found.
(0) Internal: Dst tensor is not initialized.
[[{{node _arg_D/4×4/Dense0/weight/new_value_0_23}}]]
[[D/FromRGB_lod6/bias/setter/_795]]
(1) Internal: Dst tensor is not initialized.
[[{{node _arg_D/4×4/Dense0/weight/new_value_0_23}}]]
0 successful operations.
0 derived errors ignored.
NanoはRAMが4GBしかなくTensorFlowはGPUを全部使おうとするので、OOM(Out Of Memory )になりやすいようです。
で、プロセスでTensorFlowが使うメモリを制限します。
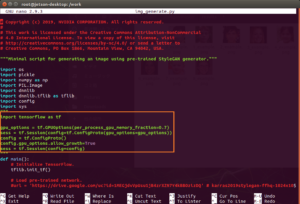
以下のコードを追加して、img_generate.py を一回実行します。プロセスはOSのOOM killer に切断(killed)されますが、これによってTensorFlowのメモリ使用量は制限されます。その後はこれをコメントアウトして再実行すればエラーは起きません。
|
1 2 3 4 5 6 7 |
import tensorflow as tf gpu_options = tf.GPUOptions(per_process_gpu_memory_fraction=0.7) sess = tf.Session(config=tf.ConfigProto(gpu_options=gpu_options)) config = tf.ConfigProto() config.gpu_options.allow_growth=True sess = tf.Session(config=config) |

Leave a Reply